Yoga is a fantastic way to improve both your physical and mental health. If you’re new to yoga, starting with the basics can help you build a solid foundation. This article will explore the 11 most important yoga poses for beginners. These poses help you develop strength, flexibility, and balance. Let’s dive into the world of yoga and discover these essential poses. Here are the 11 most important yoga poses for beginners.
11 most important yoga poses for beginners
1″Mountain Pose”
How to Perform Mountain Pose
The mountain Pose is the foundation for all standing poses. To perform Mountain Pose:
- Stand tall with your feet together.
- Distribute your weight evenly on both feet.
- Engage your thigh muscles and lift your kneecaps.
- Lengthen your spine and roll your shoulders back and down.
- Please just keep your arms at your sides, palms facing forward.
- Take deep breaths and hold the pose for 30 seconds to 1 minute.
Benefits of Mountain Pose
Mountain Pose helps improve posture, strengthens the legs, and promotes a sense of groundedness and stability. It’s a great way to start your yoga practice and prepare for more challenging poses.
2 Downward-Facing Dog
Steps to Achieve Downward-Facing Dog
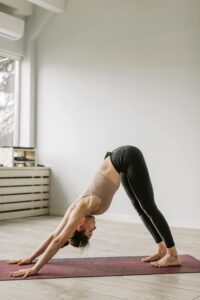
Downward-Facing Dog is a staple in many yoga practices. Here’s how to do it:
- Start on your hands and knees, with your wrists under your shoulders and knees under your hips.
- Spread your fingers wide and press firmly into your hands.
- Tuck your toes under and lift your hips towards the ceiling.
- Straighten your legs as much as possible without locking your knees.
- Press your heels towards the floor and lengthen your spine.
- Hold the pose for 1-3 minutes, breathing deeply.
Advantages of This Pose
Downward-Facing Dog stretches the entire body, improves circulation, and helps relieve stress. It also strengthens the arms, shoulders, and legs, making it a comprehensive pose for beginners.
3 Plank Pose
How to Get into Plank Pose
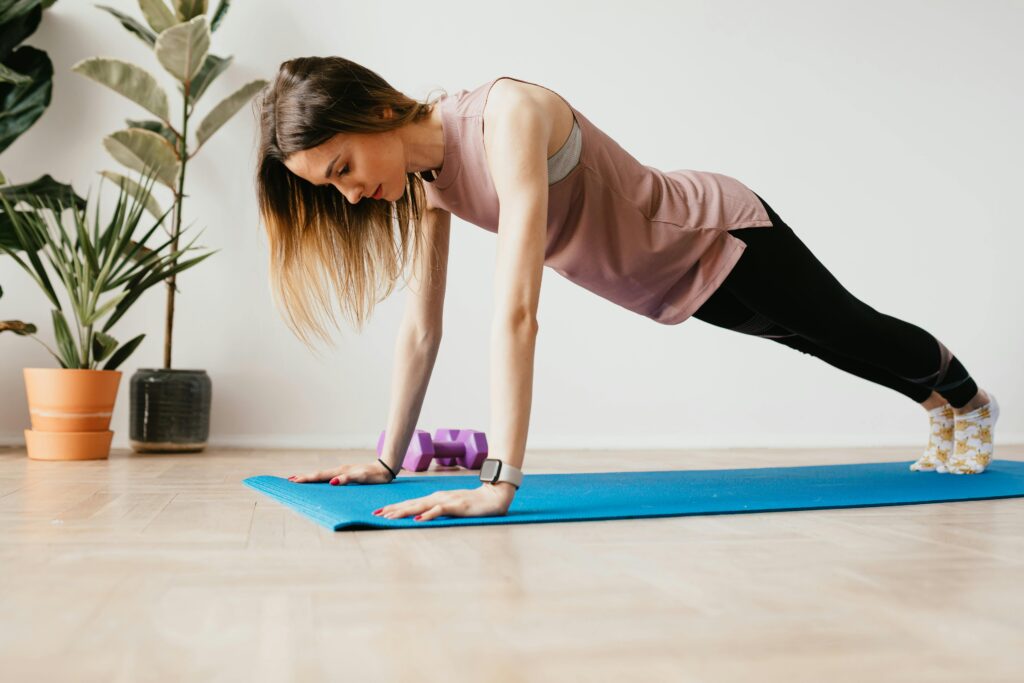
Plank Pose is excellent for building core strength. Here’s how to do it:
- Start in Downward-Facing Dog.
- Shift your weight forward, bringing your shoulders over your wrists.
- Keep your body in a straight line from head to heels.
- Engage your core and hold the pose for 30 seconds to 1 minute.
Strength and Stability from Plank Pose
Plank Pose strengthens the core, arms, shoulders, and legs. It also improves stability and helps prepare you for more advanced poses.
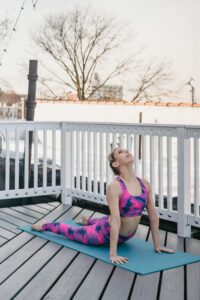
4 Cobra Pose
Performing Cobra Pose Correctly
Cobra Pose is great for opening the chest and strengthening the back. Here’s how to do it:
- Lie on your stomach with your legs extended behind you.
- Place your hands under your shoulders, elbows close to your body.
- Press into your hands and lift your chest off the ground, keeping your elbows slightly bent.
- Hold the pose for 15-30 seconds, then lower back down.
Health Benefits of Cobra Pose
Cobra Pose helps strengthen the spine, open the chest, and improve flexibility. It’s also beneficial for relieving tension in the back and shoulders.
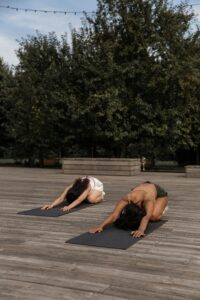
5 Child’s Pose
Steps for Child’s Pose
Child’s Pose is a restful pose that can be used to relax. Here’s how to do it:
- Kneel on the floor with your big toes touching and knees spread apart.
- Sit back on your heels and extend your arms forward.
- Lower your chest to the floor and rest your forehead on the mat.
- Hold the pose for 1-3 minutes, breathing deeply.
Relaxation and Restorative Benefits
Child’s Pose helps to calm the mind, relieve stress, and gently stretch the back, hips, and thighs. It’s an excellent pose to return to whenever you need a break during your practice.
6 Warrior
How to Execute Warrior 1
Warrior I is a powerful standing pose. Here’s how to do it:
- Stand with your feet hip-width apart.
- Step your right foot back about 4 feet and turn it out at a 45-degree angle.
- Bend your left knee, keeping it over your ankle.
- Raise your arms overhead, palms facing each other.
- Hold the pose for 30 seconds to 1 minute, then switch sides.
Empowering Benefits of Warrior I
Warrior I strengthens the legs, opens the hips and chest, and builds concentration and balance. It’s an empowering pose that boosts confidence and stability.
7 Warrior
Steps for Warrior II
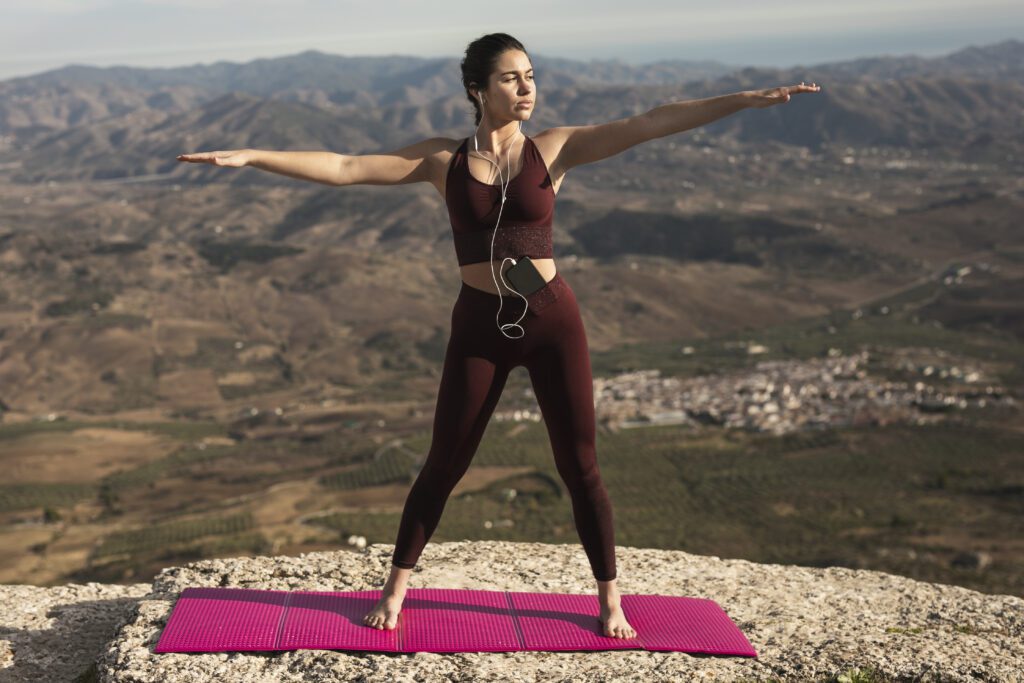
Warrior II is another strong standing pose. Here’s how to do it:
- From Warrior I, open your hips and shoulders to the side.
- Extend your arms out to the sides, parallel to the floor.
- Keep your front knee bent and gaze over your front hand.
- Hold the pose for 30 seconds to 1 minute, then switch sides.
Strengthening Effects of Warrior II
Warrior II strengthens the legs and arms, opens the hips and chest, and improves focus and stamina. It’s a dynamic pose that enhances both physical and mental strength.
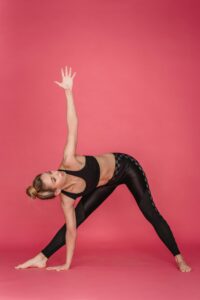
8 Triangle Pose
Performing Triangle Pose
Triangle Pose is great for stretching and balance. Here’s how to do it:
- Stand with your feet wide apart.
- Turn your right foot out and your left foot slightly in.
- Extend your arms out to the sides and hinge at your hips to reach your right hand towards your right foot.
- Extend your left arm towards the ceiling and gaze at your left hand.
- Hold the pose for 30 seconds to 1 minute, then switch sides.
Flexibility and Balance Benefits
Triangle Pose stretches the legs, hips, and spine, improves balance, and enhances overall body awareness. It’s a pose that promotes flexibility and stability.
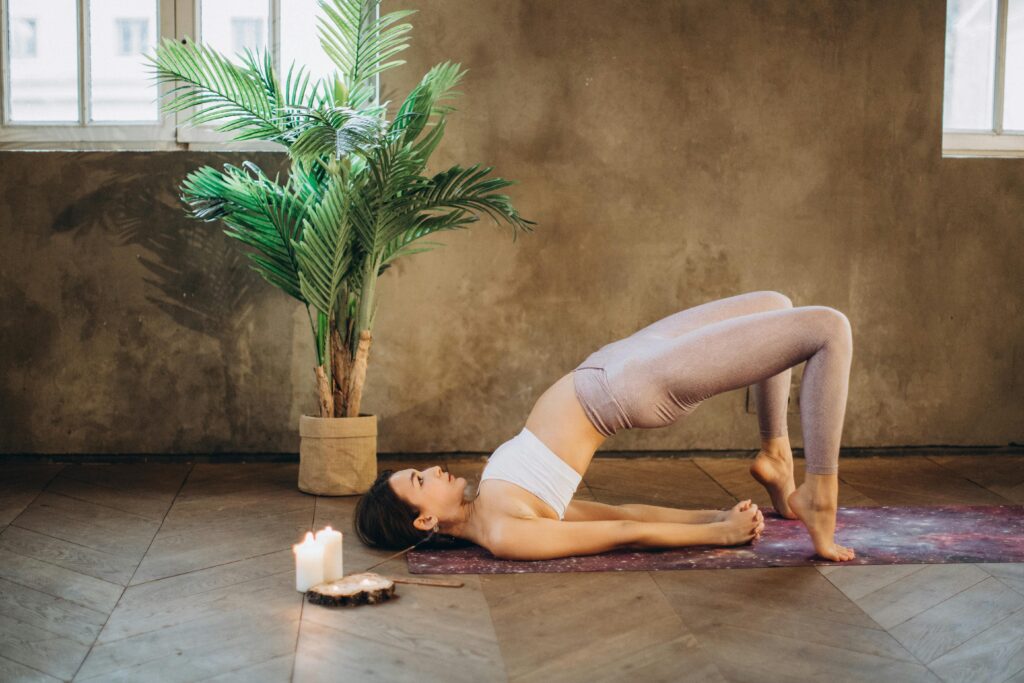
9 Bridge Pose
How to Get into Bridge Pose
Bridge Pose is beneficial for the spine and chest. Here’s how to do it:
- Lie on your back with your knees bent and feet hip-width apart.
- Press into your feet and lift your hips towards the ceiling.
- Clasp your hands under your back and extend your arms.
- Hold the pose for 30 seconds to 1 minute, then lower back down.
Benefits for Spine and Chest
Bridge Pose strengthens the back, glutes, and hamstrings, opens the chest, and improves spinal flexibility. It’s a great pose for building strength and relieving back pain.
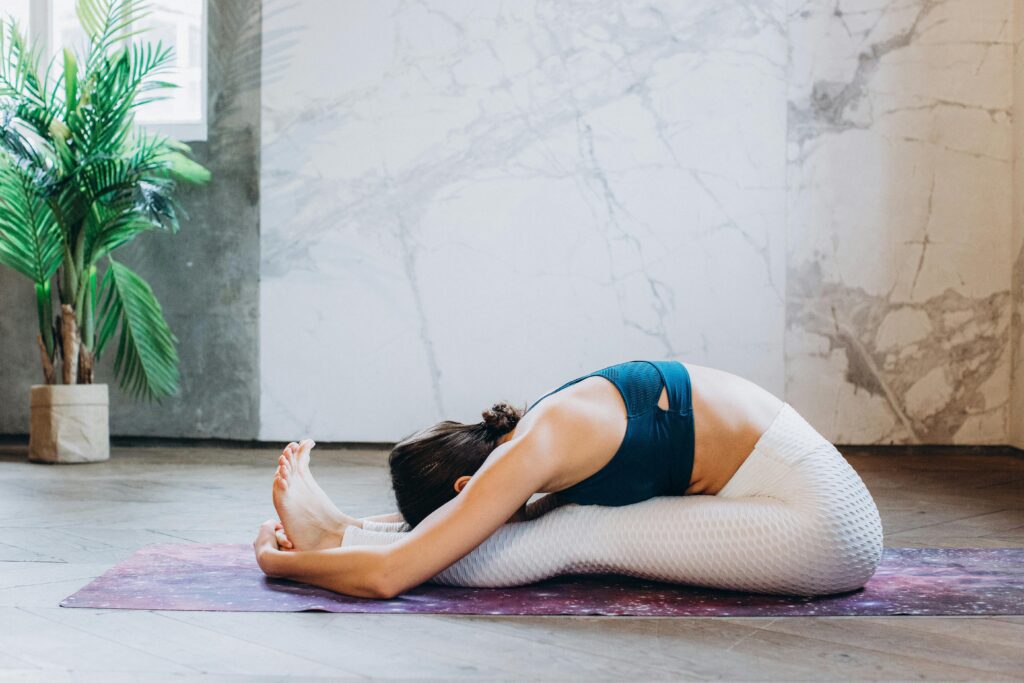
10 Seated Forward Bend
Steps to Perform Seated Forward Bend
Seated Forward Bend is a calming pose. Here’s how to do it:
- Sit with your legs extended in front of you.
- Inhale and lengthen your spine.
- Exhale and hinge at your hips to reach towards your feet.
- Hold the pose for 1-3 minutes, breathing deeply.
Benefits for Hamstrings and Spine
Seated Forward Bend stretches the hamstrings, lower back, and spine, and helps to calm the mind. It’s a soothing pose that promotes relaxation and flexibility.
11 Cat-Cow Pose
How to Do Cat-Cow Pose
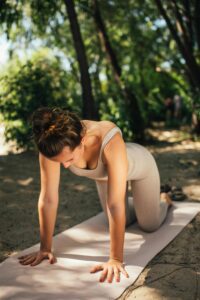
Cat-Cow Pose is excellent for spinal flexibility. Here’s how to do it:
- Start on your hands and knees, with your wrists under your shoulders and knees under your hips.
- Inhale and arch your back, lifting your head and tailbone (Cow Pose).
- Exhale and round your spine, tucking your chin and tailbone (Cat Pose).
- Flow between these two poses for 1-3 minutes, coordinating with your breath.
Benefits for Spinal Flexibility
Cat-Cow Pose improves spinal flexibility, relieves tension in the back and neck, and promotes overall body awareness. It’s a gentle way to warm up the spine an prepare for more challenging poses.
Related Article
What are the best ways a woman can keep herself healthy?
10 crucial recommendations for a vibrant and well- balanced lifestyle .
Conclusion
Yoga is an incredible practice that offers numerous benefits for both the body and mind. By starting with these 11 essential poses, beginners can build a strong foundation and develop their practice over time. Remember to listen to your body, practice regularly, and enjoy the journey of yoga.
FAQs
- How often should beginners practice yoga?
Beginners should aim to practice yoga 2-3 times per week to build consistency and gradually improve their skills.
- What should I wear for yoga practice?
Wear comfortable, stretchy clothing that allows for a full range of motion. Avoid clothing that is too loose or restrictive.
- Can yoga help with stress relief?
Yes, yoga is known for its stress-relieving benefits. It promotes relaxation, mindfulness, and deep breathing, all of which help reduce stress levels.
- Is it necessary to join a yoga class, or can I practice at home?
While joining a class can provide guidance and community, it’s also possible to practice at home using online resources or instructional videos.
- How do I know if I am performing the poses correctly?
Consider attending a few classes with a certified instructor to learn the basics. Use mirrors, videos, or apps to check your alignment and ensure you’re performing the poses safely.



Comments